Ultimate Procreate Color Palette: Streamline Your Digital Art Workflow
Creating artwork in Procreate is significantly easier and more enjoyable when you have a coordinated or themed color palette at your fingertips. The moment you stop hunting for the perfect shade, you can fully immerse yourself in the creative process. This is where the Ultimate Procreate Color Palette becomes an essential asset for artists ranging from hobbyists to professional illustrators. By integrating curated palettes into your workflow, you eliminate the friction of color selection, allowing your artistic vision to flow uninterrupted.
Many digital artists underestimate the time lost to color theory decisions during the drafting phase. A well-organized set of swatches acts as a visual shortcut, ensuring consistency across projects and speeding up production times. However, simply having a collection of colors is not enough; understanding how to implement them correctly is where many users stumble. Let’s explore how to maximize the value of these tools while avoiding common pitfalls that can hinder your progress.
Understanding the Value of Curated Swatches
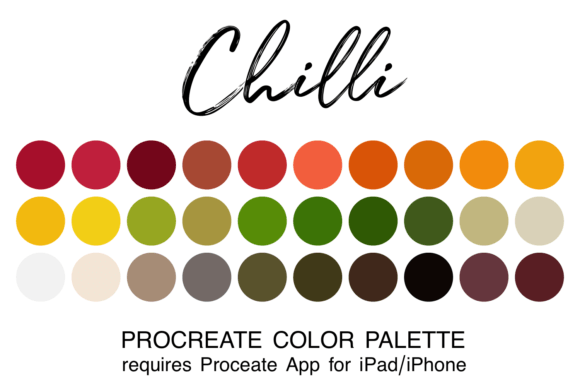
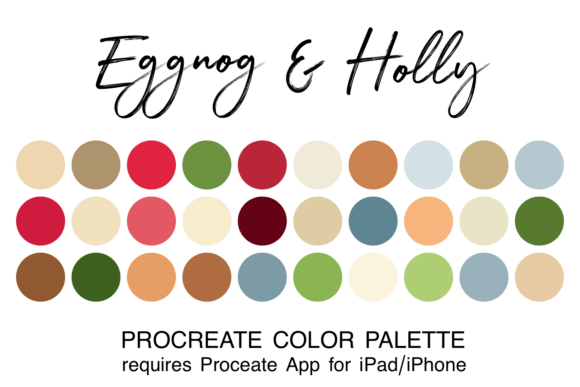
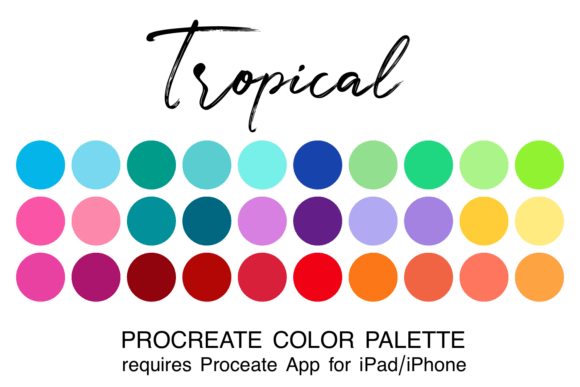
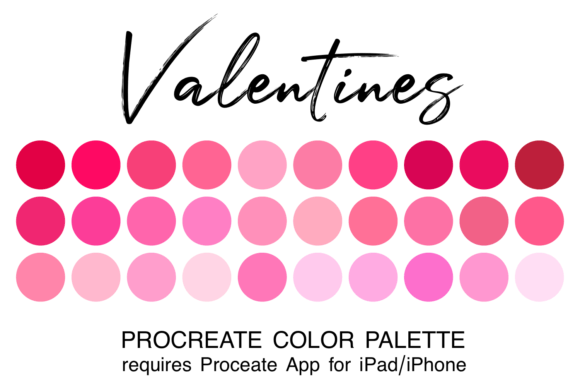
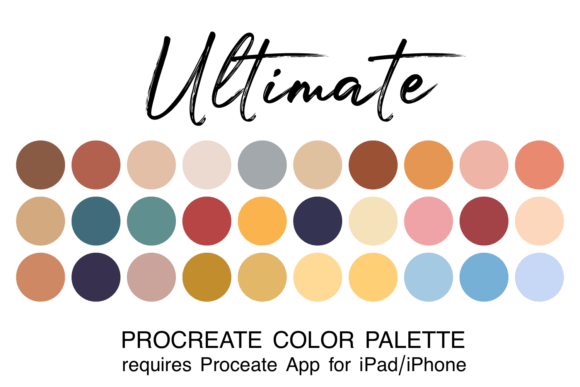
The Ultimate Procreate Color Palette is not just a random assortment of hues; it is a strategic tool designed to enhance your specific artistic needs. These palettes typically come in a single file containing 30 carefully selected colors in the ".swatch" format, which is native to the Procreate app on iPad and iPhone. The primary benefit lies in cohesion. When every color in your library works harmoniously with the others, you reduce the risk of creating muddy or clashing compositions.
For freelancers and small business owners, this efficiency translates directly to better client deliverables. Consistency in branding materials, social media graphics, or book illustrations relies heavily on a unified color scheme. Without a pre-set system, there is a high chance of drifting away from the intended mood or brand identity. Using a dedicated palette ensures that every piece you create maintains a professional standard, regardless of how quickly you need to finish the work.
Common Mistakes When Choosing and Installing Palettes
Even with high-quality assets like the Ultimate Procreate Color Palette, users often encounter avoidable issues during the setup and usage phases. One of the most frequent errors involves improper file handling. Many beginners download the zipped file but fail to unzip it before attempting to open it. Procreate cannot read compressed archives directly; the file must be extracted to reveal the actual ".swatch" file inside.
Another oversight is neglecting to check device compatibility. It is crucial to remember that you must have the Procreate app installed on your iPad or iPhone to utilize these files. Attempting to use a .swatch file on a desktop computer or a non-supported tablet will result in nothing happening. This misunderstanding often leads users to believe the file is broken, when in reality, it is simply a matter of using the correct hardware environment.
Installation Errors That Slow You Down
The installation process is straightforward, yet it is often rushed. To ensure the palette integrates smoothly, follow this precise method:
- Download the File: Save the zipped package to your iPad’s "Downloads" folder within the Files app.
- Unzip Immediately: Tap the downloaded file to extract its contents. Do not skip this step.
- Open the Swatch: Click directly on the filename ending in ".swatch".
- Verify Installation: The file should automatically import into Procreate without requiring further action.
If you skip the unzipping stage, the app will not recognize the file type, and the palette will never appear in your list. This simple procedural error can waste valuable time troubleshooting a problem that was easily preventable.
Optimizing Your Workflow After Installation
Once the Ultimate Procreate Color Palette is successfully imported, the next step is accessing it efficiently. A common mistake is leaving the new palette buried deep in a long list of default options. Every time you start a new project, searching through dozens of folders breaks your creative momentum.
To fix this, navigate to the colored dot in the top right corner of your screen immediately after importing. Locate your new palette in the list and consider setting it as your default palette. This ensures that every new canvas opens with your curated colors ready to go. For educators and marketers who produce content regularly, this small adjustment can save minutes per session, which adds up to hours over a month.
Evaluating Quality Before You Commit
Before deciding to use any third-party palette, including the Ultimate Procreate Color Palette, it is wise to evaluate its suitability for your specific style. Not all color sets are created equal. Some may lean too heavily toward neon tones that wash out on certain screens, while others might lack sufficient contrast for accessibility standards.
When evaluating a palette, ask yourself if the 30 included colors cover the range of values you typically need. A good palette should offer a balance of highlights, mid-tones, and shadows. If a set only provides flat, bright colors without darker variations, you will find yourself constantly mixing custom shades, negating the time-saving benefit of the asset.
Furthermore, consider the thematic relevance. Are these colors aligned with the mood you want to convey? A palette designed for fantasy landscapes might feel jarring in a corporate presentation. Always preview the swatches in a test document to see how they interact with different brushes and blending modes before committing them to a major project.
Avoiding Over-Reliance on Pre-Made Sets
While the Ultimate Procreate Color Palette offers a fantastic starting point, relying on it exclusively can limit your growth as an artist. There is a temptation to use the same 30 colors for every single piece, which can lead to repetitive work that lacks freshness.
The best approach is to treat these palettes as a foundation rather than a cage. Use the curated colors to establish your base layers and main subjects, then experiment by creating slight variations. Duplicate a color from the palette and adjust its saturation or brightness to fit a unique lighting scenario. This hybrid method allows you to maintain the harmony of the original set while adding personal flair to each creation.
By balancing the convenience of pre-made assets with active experimentation, you ensure that your workflow remains efficient without sacrificing creativity. Whether you are a beginner learning the ropes or a seasoned professional managing tight deadlines, the right tools used correctly make all the difference. With the proper installation and thoughtful application, the Ultimate Procreate Color Palette can transform your digital art journey from a struggle with color theory into a seamless expression of your ideas.